12/15-12/18
- Kimberly Dao
- Dec 18, 2025
- 2 min read

Monday
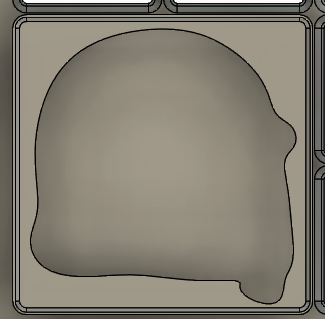
I came back to the whole draw filled with the base. That meant it was time to do the tool bins. I asked Mr. L how to start and he walked me through what would be easy to start with and test. I was given a small measuring tape. I first had to take a picture on my phone and send myself the picture. I then needed to attach the photo into fusion as a canvas. After those steps, I made the solid box and then calibrated the image. Calibrating the image allows an accurate sizing on Fusion. This was very helpful because I could pick a suitable size for the bin. I settled on a 2x2 because it was a small measuring tape and didn't need a lot of space. I knew that I had to be mindful of the two tabs that stuck out.

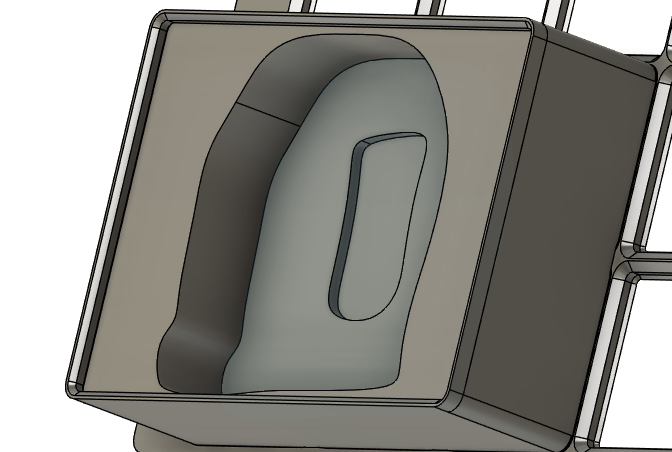
Tuesday
I didn't have enough time to actually extrude into the solid bin but after returning, I traced the image and extruded a rough shape of it. I made this shape and made a 3D file for it. Someone was using the printer on Tuesday so I helped with the word clock again. Jaspreet told me that there should be changes made to the PCB. The resistor needed to be removed and three more power connectors were made to connect more power to the board. Power still struggled to flow through the whole board. The resistor being on the board caused the PCB to not send the signals to project through the LEDs on the board.


Wednesday
I decided to 3D print because the printer wasn't being used. It took the whole period to print the bin. I had to return back on Thursday to see the results but, Mr. L took it out when it finished and placed the measuring tape into it in the draw. I should've made the shape a little bigger along the tab lock because it got stuck and needed to have a specific position. It still worked and was usable. I decided to work a little bit on a side-project as it printed.


Thursday
This was when I found out that the print worked. After looking over and noticed that changes could be made but I would make those changes later. I decided to work on another bin for a slightly bigger measuring tape. This one was different because it didn't lay flat on its back. There was a clip on the back so I made a spot where the clip would be in when you'd place the measuring tape in the big, avoiding the leveling issue. I won't have the change to print it today because someone is using the printer. I hope the dip was enough.


Comments